In today’s digital world, securing your cryptocurrency is more important than ever. Hardware wallets like Trezor® offer a trusted way to take full control of your digital assets—offline, away from online threats and exchange vulnerabilities.
If you’ve recently purchased a Trezor device, whether it’s the Trezor Model One or the more advanced Trezor Model T, your journey begins at the official setup portal:
🔗 Trezor.io/Start
This article walks you through the setup process, how to properly secure your device, and how to start managing your crypto safely and confidently.
Trezor.io/Start is the official Trezor onboarding page where new users are guided through the process of:
This portal is the only trusted source to begin using your device. It ensures you get the latest firmware, software, and security guidelines directly from SatoshiLabs, the creators of Trezor.
⚠️ Security Tip: Never search for Trezor setup links on search engines. Only use the direct URL: https://trezor.io/start to avoid phishing or fake clones.
Here’s a full breakdown of what to expect when starting your Trezor setup at Trezor.io/Start:
First, select your model:
This ensures the guide gives you the correct setup instructions for your specific device.
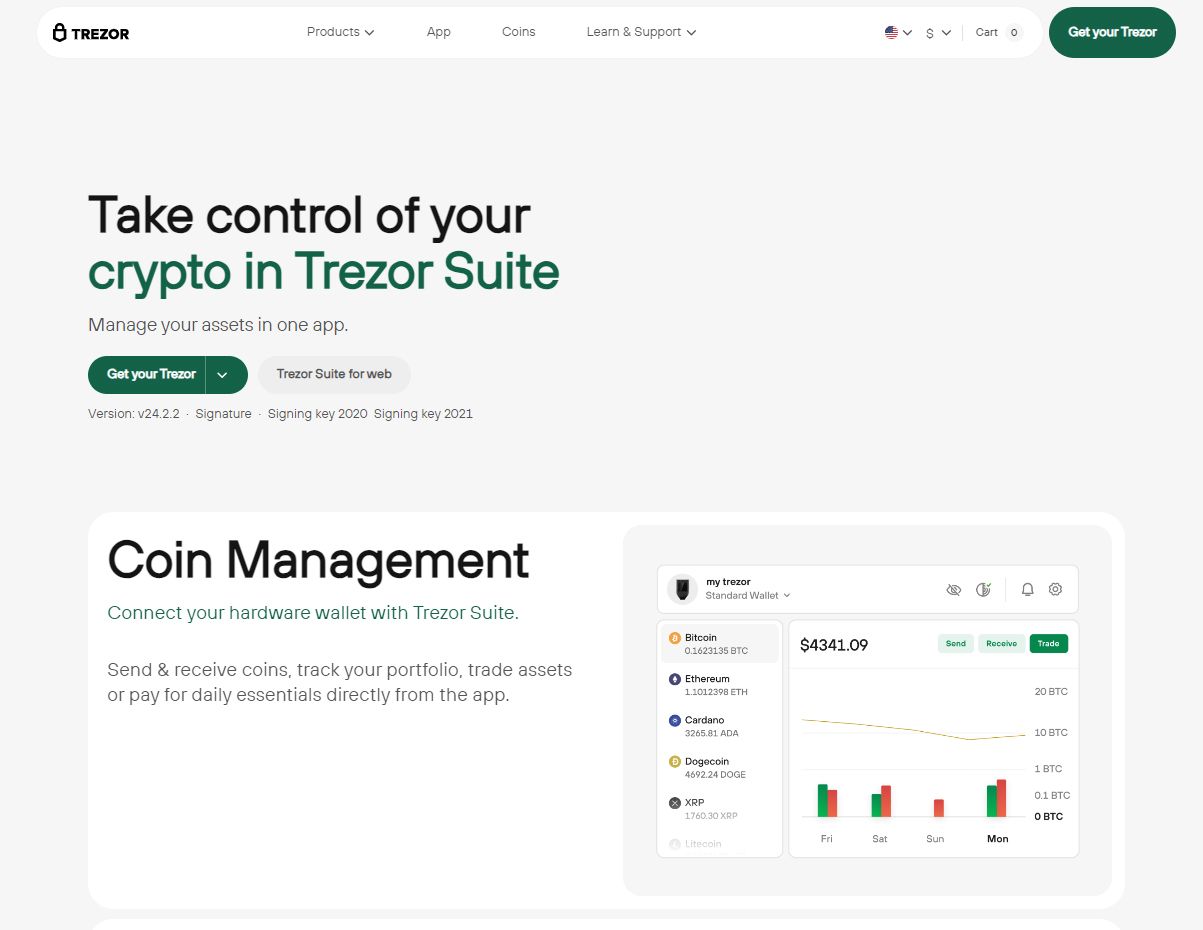
You’ll be prompted to download Trezor Suite, the official desktop and browser-compatible application. It’s the secure interface used to:
Plug your Trezor into your computer using the provided USB cable. Trezor Suite will automatically detect your device and prompt you to either:
Choose Create New Wallet to generate a new crypto wallet securely.
Your Trezor device will now generate a 12-, 18-, or 24-word recovery phrase. This is the most critical part of wallet security.
📝 Write down each word in the exact order on the recovery sheet provided in the box.
💡 Never save it digitally, take photos, or store it online.
This seed phrase is the only way to restore your funds if your device is lost or damaged.
Your Trezor will ask you to confirm a few of the words to ensure you wrote them down correctly. This step protects you from setup mistakes that could result in lost access later.
Next, choose a PIN code for your device. This protects your wallet from unauthorized access. Use a secure, memorable code that isn’t easily guessed.
After setup, Trezor Suite will prompt you to:
You can now fully manage your crypto securely, with all transactions confirmed on your Trezor device screen.
Trezor is widely respected for its robust security architecture. Here’s why it’s trusted:
Every transaction must be physically confirmed on the device, ensuring you’re always in control.
Trezor devices work with MetaMask, WalletConnect, and other tools for interacting with:
By connecting your Trezor to MetaMask (as a hardware signer), you can engage with Web3 ecosystems while keeping your keys protected offline.
Q: Can I set up Trezor without internet?
A: No. You need an internet connection to download Trezor Suite and initialize your wallet securely.
Q: What if I lose my device?
A: You can restore your wallet using your recovery phrase on any compatible wallet (preferably another Trezor).
Q: Can Trezor be hacked?
A: Only if someone has your device and your PIN or recovery phrase. Always store your seed securely.
Starting your Trezor device at Trezor.io/Start® is the first—and most important—step toward full control of your cryptocurrency. With its strong security model, intuitive interface, and full compatibility with today’s crypto ecosystem, Trezor helps you manage your digital assets with confidence and peace of mind.